
You leave the treatment room, glance at your reflection in a parked car's side mirror, and see flushed skin, a slightly raised brow line, and pigment that looks darker than it did before the laser. That moment can feel alarming, especially if you expected the unwanted colour to disappear immediately.
The mirror is showing only the surface reaction. The eyebrow tattoo removal healing process continues beneath that visible layer for weeks, as fragmented pigment is gradually cleared and treated tissue settles. Redness, swelling, crusting, colour shifts, and later fading can all belong to a normal sequence, but the skin around the eyes needs careful handling because it's thin, close to the eyelid, and surrounded by natural hair follicles.
Table of Contents
- What Healing Really Looks Like After Eyebrow Tattoo Removal
- The Day-by-Day Healing Timeline You Can Expect
- Aftercare Do's and Don'ts That Move the Needle
- Why Surface Healing and Treatment Readiness Are Not the Same Thing
- Normal Healing Signs Versus Red Flags Worth Calling About
- Planning Your Next Session and Clinic Follow-Up
What Healing Really Looks Like After Eyebrow Tattoo Removal
Laser treatment doesn't lift cosmetic ink away in one step. The energy breaks pigment into smaller particles, while the skin mounts a controlled inflammatory response. Your body then begins processing the fragments, so the colour you see immediately after treatment doesn't represent the final result of that session.
A clinical series on cosmetic eyebrow tattoo removal reported mild, temporary redness and swelling immediately after treatment, with epidermal crusting lasting 3 to 5 days. The series also found that eyebrow hair growth wasn't affected, and no adverse events were reported. Visible clearance varied between patients. One reached 75% clearance after three treatments over 2.5 months, while other patients reached 75%, 90%, or 100% clearance after one treatment. These findings show why early healing and pigment response can look different from person to person. (peer-reviewed clinical series on cosmetic eyebrow tattoo removal)
The two clocks inside your brow
I explain recovery as two overlapping tracks.
- Surface healing: This is the part you can photograph. Frosting, redness, swelling, micro-crusts, flaking, and visible skin texture changes happen at the top of the treated area.
- Deeper recovery: This is the slower process beneath the epidermis. Fragmented pigment continues moving through the body's clearance pathways while the dermal tissue settles and remodels.
A brow can look calm while deeper irritation remains. It can also look darker or uneven during the early phase without meaning the treatment has failed. The visible snapshot in the mirror is only one point on a longer curve.
Practical rule: A clean-looking surface doesn't automatically mean the skin is ready for another laser session.
The rest of the healing process follows that distinction. You'll need to know what commonly happens from the first day through the peeling stage, which aftercare habits protect the brow, and why a follow-up assessment should consider skin condition, pigment behaviour, and hair safety rather than appearance alone. Your practitioner must also account for the thin brow skin, nearby eyelid, eye protection, and the presence of follicles and vellus hairs in the treatment zone.
The Day-by-Day Healing Timeline You Can Expect
The following timeline describes a typical range, not a promise. Pigment depth, colour composition, skin response, treatment settings, and aftercare can change how quickly each stage appears.
Days 0 to 1
Immediately after treatment, you may see pinpoint frosting, warmth, redness, swelling, or a temporary darkening of the pigment. Pinpoint bleeding can occur where the laser has treated the skin, and the brow may look more defined or darker before it starts to fade.
The frosting reflects a rapid surface response. Swelling may remain limited to the brow or may reach the eyelid, especially because fluid can move through the delicate tissue around the eye. Keep your head protected from rubbing and follow the clinic's cooling and cleansing instructions closely.
Days 2 to 4
Redness and mild oedema may be most noticeable during this period. The skin can feel tight as tiny crusts begin forming, and mild itching can occur as the epidermis repairs itself.
The colour may shift temporarily. Grey, orange, or other altered tones can become visible as different pigment components respond at different rates. This isn't a reliable point for judging the final outcome.
Days 5 to 10
Micro-crusts may flake or peel. Let them lift on their own. Picking, rubbing, or scrubbing can remove fragile new skin before the barrier has recovered and can increase irritation or create avoidable trauma.
A clinical series reported epidermal crusting for 3 to 5 days, but individual timing varies. The brow may look patchy while flakes release, which is common during a staged surface repair process.
Days 11 to 21
The visible surface usually becomes calmer, while gradual fading becomes easier to notice. Your lymphatic and immune systems continue processing fragmented pigment, so the brow may keep changing even when there's no longer obvious crusting.
Temporary pinkness can linger. Vellus hairs in the treatment area may also look different during recovery, but that doesn't automatically indicate follicle injury. Your clinic should assess any unusual shedding rather than relying on a single mirror check.
Weeks 3 to 8
Deeper tissue recovery continues, and pigment can keep lightening between appointments. Guidance on eyebrow recovery commonly places substantial visible surface healing around 6 to 8 weeks, while full deeper recovery may take 3 to 6 months in some cases. (eyebrow tattoo removal aftercare and recovery guidance)
For another practical explanation of the early stages, see this guide to microblading laser removal healing.
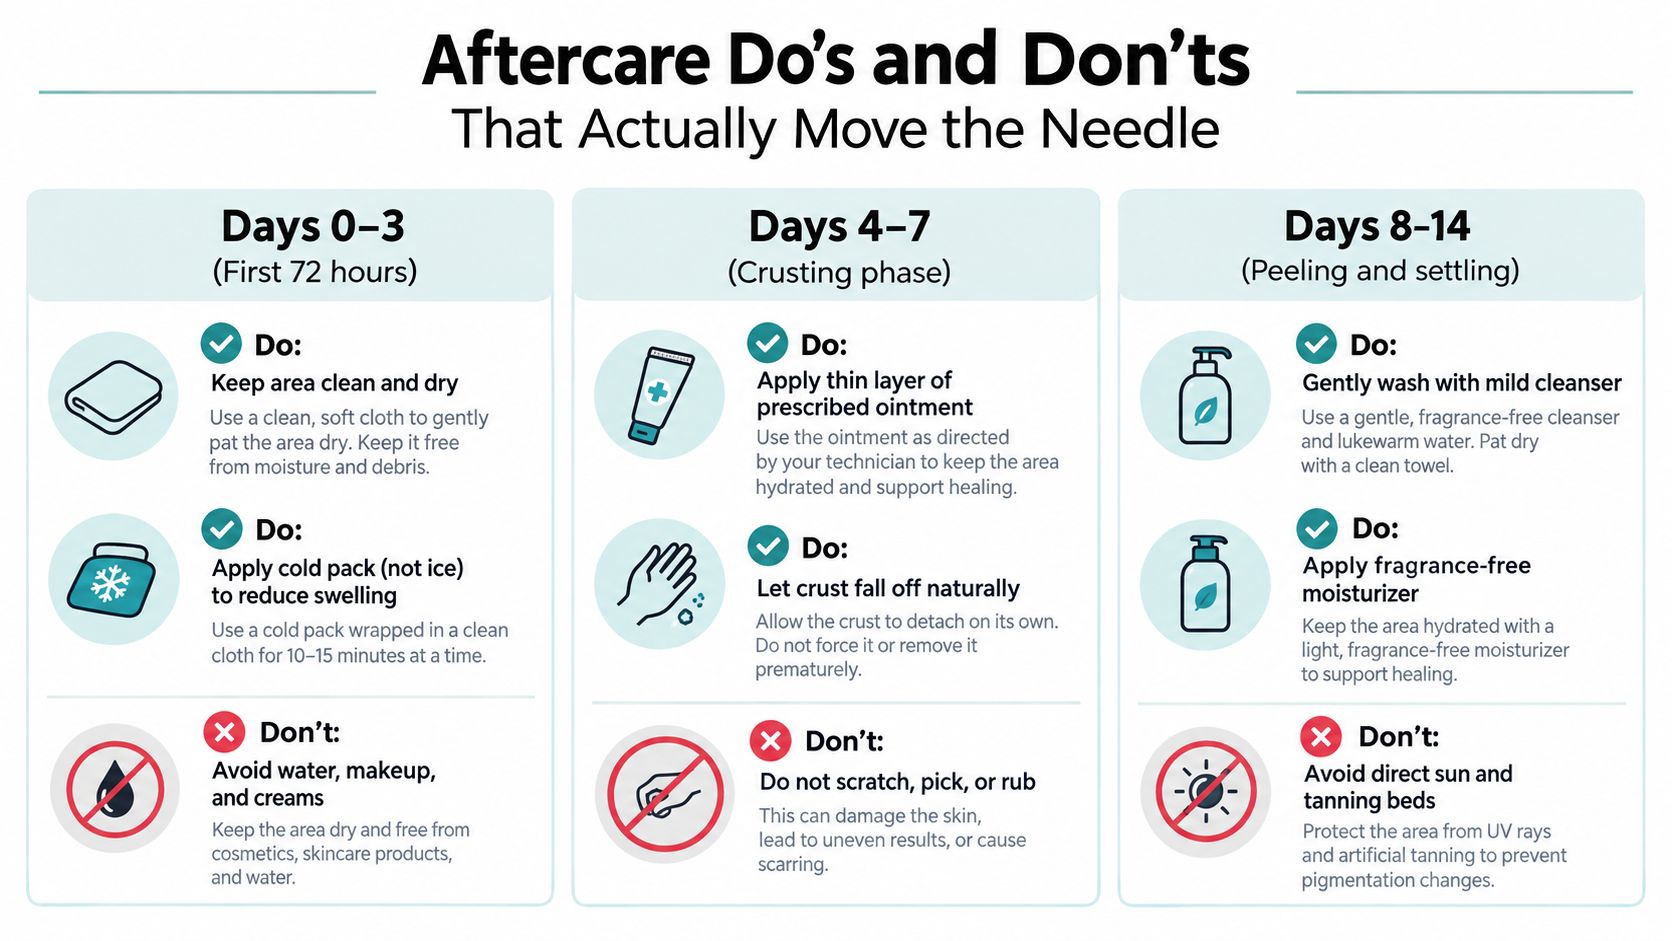
Aftercare Do's and Don'ts That Move the Needle
A client may leave with only mild redness, then notice swelling, darkening, or crusting later that day. Aftercare must follow that changing skin response. The goal is to protect the barrier, reduce avoidable inflammation, and prevent trauma while the body processes fragmented pigment. It cannot force faster clearance.
Days 0 to 3
- Cool the area carefully: Use a cold pack rather than direct ice for 3 to 5 minutes at a time over 1 to 2 hours after treatment, following your practitioner's directions. This laser tattoo removal aftercare guidance also covers early aftercare precautions.
- Keep the brow clean and dry: Use only the cleanser or saline method your clinic recommends. Avoid immersing the area in water.
- Protect the barrier: Apply plain petroleum or a prescribed barrier ointment in the thin layer advised by your practitioner. More product does not improve healing.
- Reduce overnight swelling: Sleeping with your head raised can limit fluid pooling around the brow and eyelid.
- Avoid makeup: Keep makeup away from the treated area for the first 48 hours, unless your practitioner gives different instructions.
- Skip sweat and heat: Avoid strenuous sweating, hot water, swimming, and activities that expose fresh treated skin to heat, moisture, or contamination.
Handle contact lenses with care. If insertion or removal stretches, rubs, or presses near the brow, ask your clinic when to resume.
Days 4 to 10
Peeling is a test of patience. Do not scratch, pick, scrub, or pull at crusts, even when an edge appears ready to lift. Forced removal can disturb fragile new skin, increase inflammation, and leave the area uneven while it repairs.
Wait for the surface to close fully before applying brow makeup, and get clearance from your practitioner first. Lash serums and growth products also require caution because they may migrate toward the healing zone and expose reactive skin to ingredients it does not tolerate well.
For practical instructions covering this stage, review this post-laser tattoo removal aftercare guide.
Day 11 onward
Once the barrier has normalized, return to gentle cleansing rather than aggressive exfoliation. Ask your practitioner when to restart retinoids, acids, scrubs, or other active products. Recently treated skin may react more strongly to sunlight, and exposure can worsen colour change or irritation. Avoid direct sun for at least one week, and extend that protection when possible.
If conventional sunscreen feels uncomfortable around the brows, compare clean sunscreen alternatives with your practitioner before applying anything near the treatment area.
Aftercare improves the conditions for predictable healing. It cannot guarantee immediate clearance, remove pigment in one visit, or override pigment depth and composition. Treat the skin gently, protect it from exposure, and let the biological clearing process continue at its own pace.
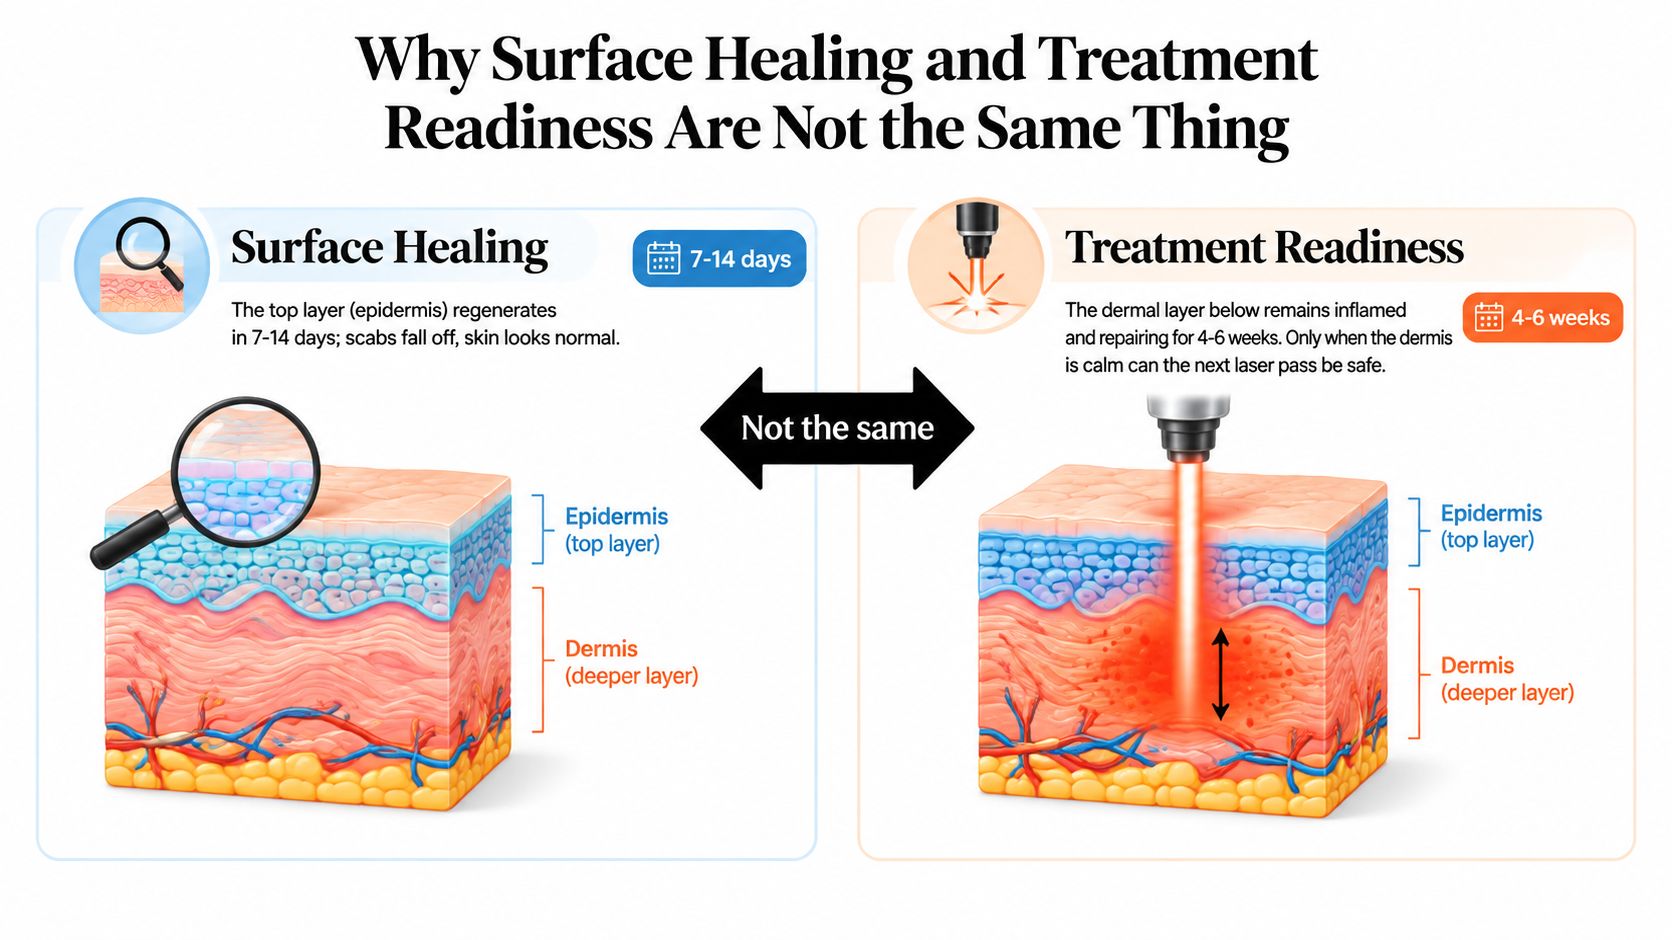
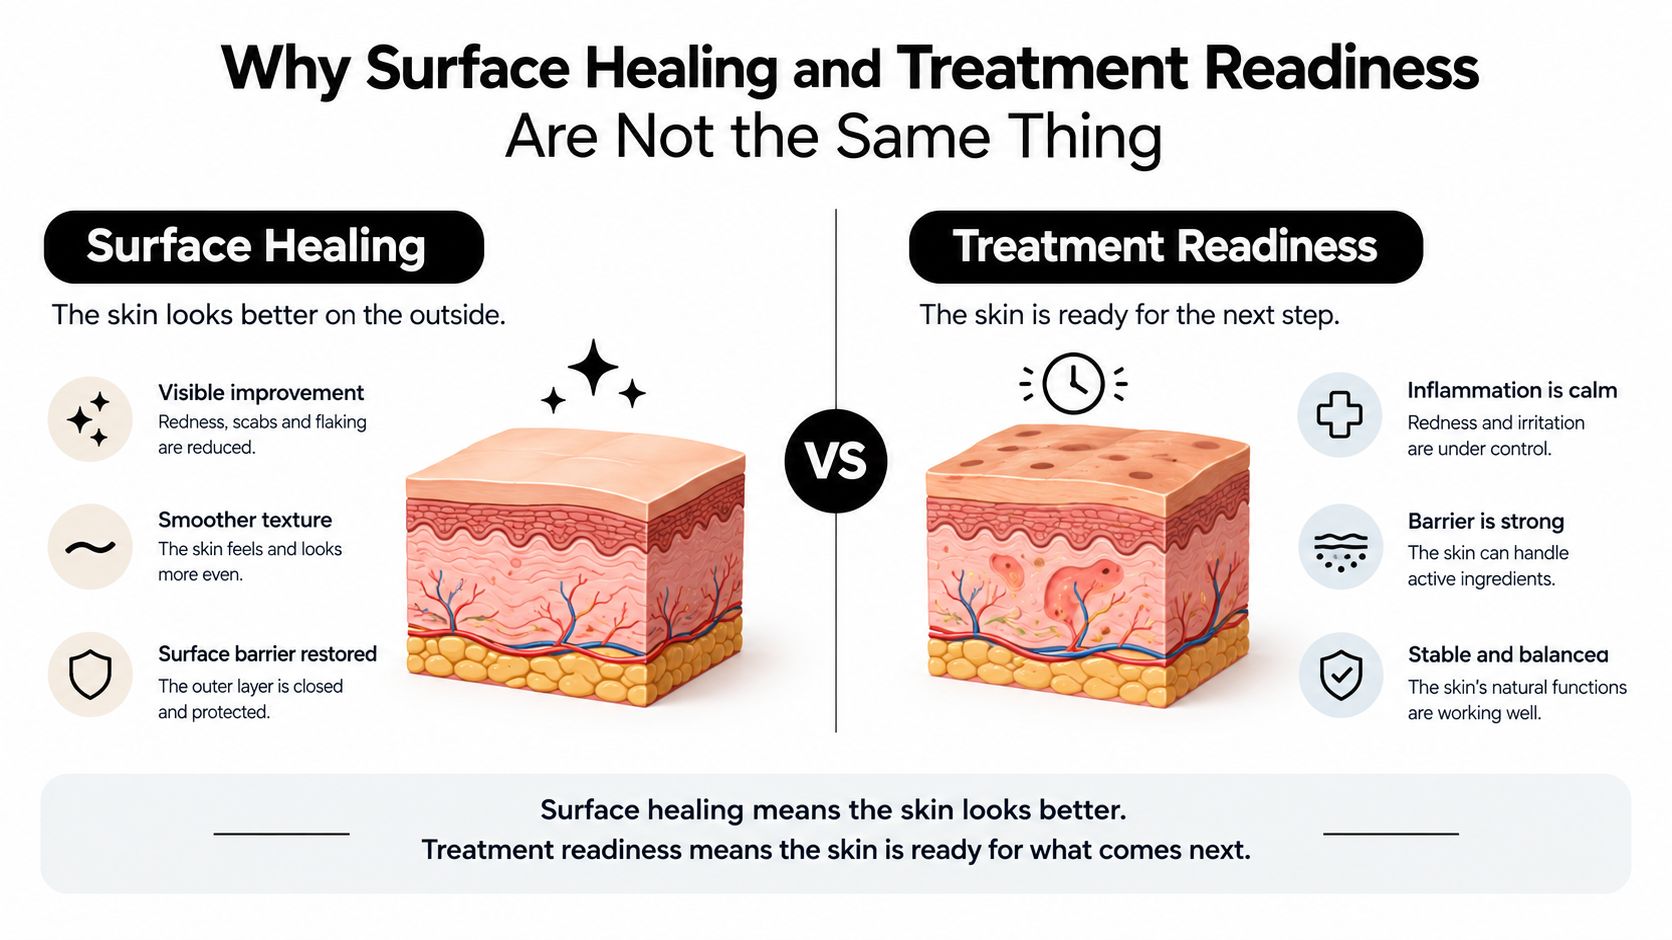
Why Surface Healing and Treatment Readiness Are Not the Same Thing
When a scab lifts from the brow, the surface may have repaired enough for the crust to release. That visible change does not confirm that the deeper treatment zone has finished recovering.
The epidermis can re-epithelialize within 7 to 14 days, while dermal tissue containing pigment may need 6 to 12 weeks to remodel. (permanent make-up removal review) During this period, immune cells continue clearing fragmented pigment, collagen reorganizes, and residual colour may keep lifting or fading. A brow can look healed while these deeper processes are still active.
Why early retreatment creates problems
Treating too soon can expose tissue that appears closed but remains reactive. Possible consequences include renewed pinpoint bleeding, an uneven pigment response, and hypopigmentation around brow follicles. Applying energy before the tissue settles may make clearance less predictable rather than speeding it up.
Dense microblading and light nano brows show why pigment pattern matters. Dense deposited pigment may require more time and repeated sessions because the body has more material to process. A lighter nano brow may show an impressive early change, yet the underlying tissue may still be unsuitable for immediate retreatment.
The right interval protects both the skin and the result. A shorter wait is not automatically a more efficient plan.
A 2026 review of permanent make-up removal reports that eyebrow tattoo removal commonly requires 8 to 15 treatment sessions and stresses balancing pigment clearance with skin recovery. It also reports that picosecond Nd:YAG lasers are quicker and more effective than Q-switched Nd:YAG lasers for eyebrow tattoos. (permanent make-up removal review)
The decision should come from examining the brow, not counting days alone. Your practitioner should assess normalized texture, resolved crusting, stable colour, no active inflammation, and a response that supports the next treatment safely.
Normal Healing Signs Versus Red Flags Worth Calling About
Most early reactions are temporary, but clients shouldn't have to guess whether a change is routine. Use the pattern, timing, spread, and discharge as your guide, then contact the clinic when something moves outside the expected direction.
| Symptom or Sign | Normal Healing | Call the Clinic |
|---|---|---|
| Redness | Mild pinkness that settles during the early recovery period | Redness that spreads beyond the brow bone or becomes more intense after day 3 |
| Swelling | Mild swelling that gradually improves | Swelling that keeps increasing, becomes pronounced around the eyelid, or affects vision |
| Sensation | Warmth, tightness, or mild itching | Increasing pain after day 3 or pain that becomes difficult to control |
| Surface changes | Light flaking, small pinpoint scabs, or temporary darkening | Yellow or green crusting, worsening wetness, or foul-smelling discharge |
| Blisters | Small, limited blisters can occur with some treatments | Blistering larger than 2 mm or blistering that spreads |
| General health | No systemic symptoms | Fever, chills, or feeling acutely unwell |
| Brow hair | No lasting change in eyebrow hair growth is expected in the cited clinical series | Hair follicles appearing to slough, marked shedding, or a new bare area that concerns you |
Complication data from permanent-makeup eyebrow and eyeline procedures recorded an overall complication rate of 12.1%, with itching reported at 8.2%, swelling at 13.2%, and severe infection at 0.2%. These figures concern the procedures covered in that report, not a guarantee of what will happen after your removal session, but they reinforce why inflammation and self-trauma deserve attention. (permanent-makeup complication data)
For more detail on warning symptoms, use this guide to signs of infection after tattoo removal.
If you're concerned, photograph both brows in the same lighting, include one close image and one wider image showing the eyelid and surrounding skin, and send them to the clinic with the treatment date and a short description of what changed.
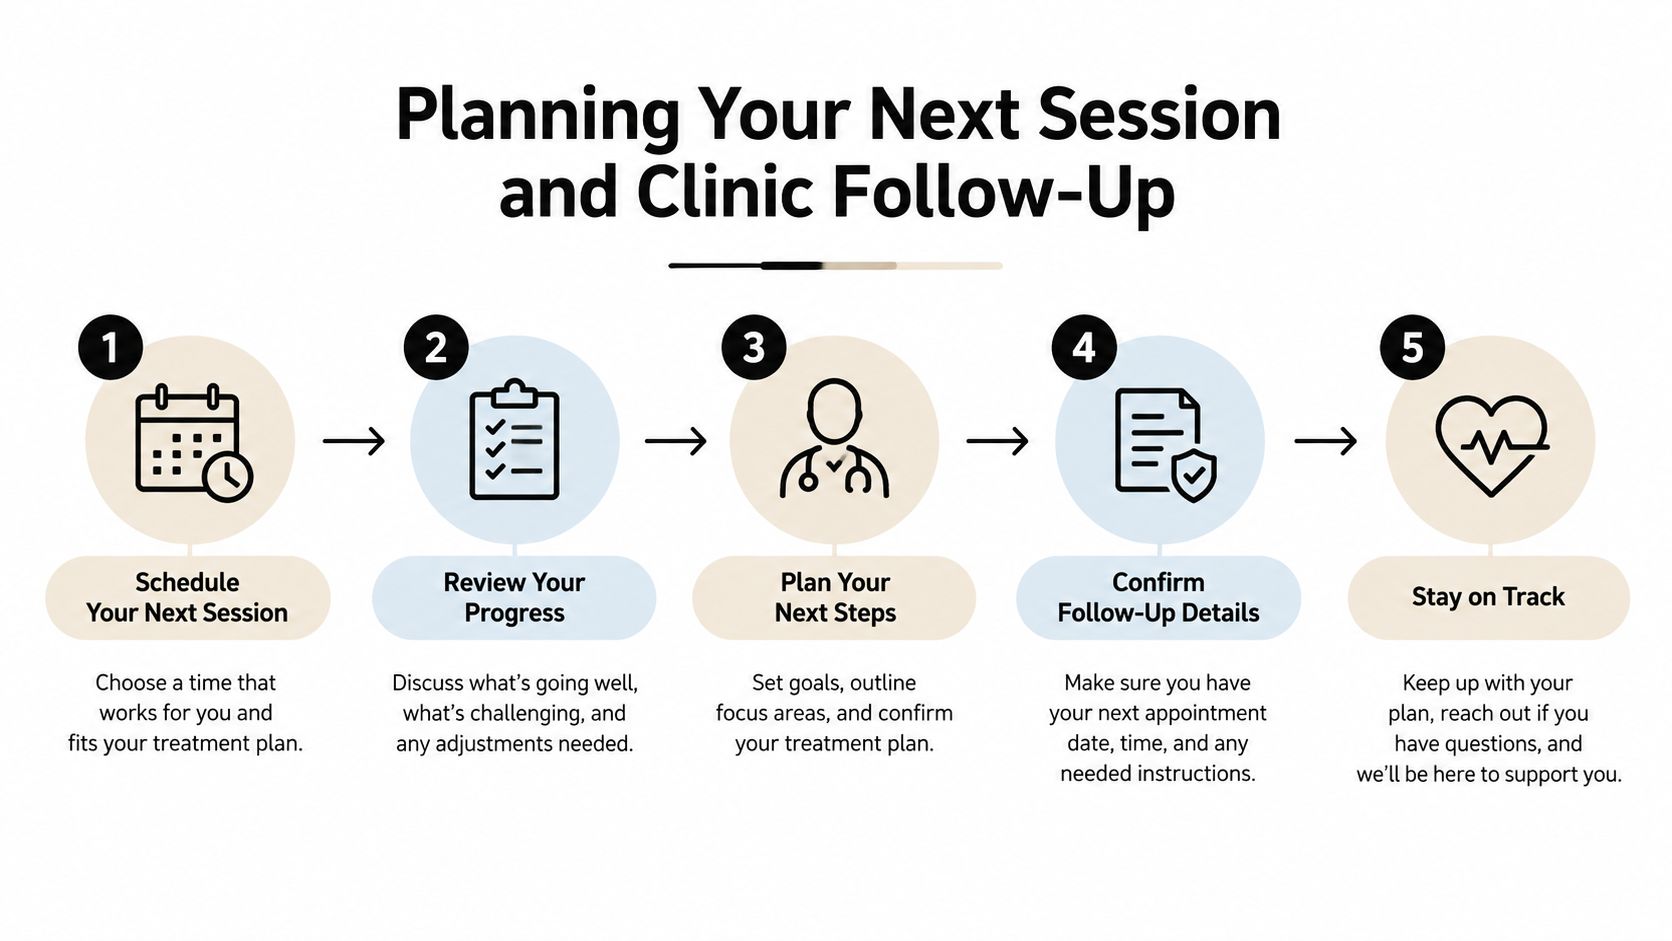
Planning Your Next Session and Clinic Follow-Up
Eyebrow tattoo removal usually takes a planned series of treatments, not one appointment. Earlier evidence reviews report that eyebrow tattoos commonly require 8 to 15 sessions. Broader tattoo-removal findings have described an average of 7 to 10 sessions, with approximately 95% pigment removal after an average of 8.9 sessions. These figures describe reported treatment patterns, not a personal forecast.
Your schedule should follow the skin's recovery and the pigment's response. A practitioner may choose a picosecond Nd:YAG or another suitable platform, but the device is only one part of the decision. Skin type, pigment colour and depth, previous treatments, eyebrow-hair safety, and your healing behaviour all affect the next setting and timing.
What to record between appointments
Photograph both brows in consistent lighting. Note when redness settled, when crusting ended, whether swelling reached the eyelid, and how the pigment changed afterward. Rust or orange tones can appear as some pigments alter during treatment, but colour change still requires professional interpretation.
Bring these questions to your follow-up:
- What pigment remains: Is the residual colour black, brown, grey, red, orange, or mixed?
- How are the follicles responding: Does the brow hair remain intact, and is any temporary shedding expected?
- How is my skin responding: Does my Fitzpatrick-related response call for a more cautious approach?
- Should fluence change: Is the current setting suitable, or does the tissue response support an adjustment?
- Is the goal fading or removal: Is the aim to soften one section, or to clear more of the remaining tattoo?
The interval between PiQo4 sessions should be set after the clinician examines your skin. Do not book by a fixed promise. Some recovery guidance places eyebrow recovery in a 6 to 12 week window, while deeper tissue recovery may continue beyond the point when the surface looks calm. (eyebrow laser tattoo removal recovery timeline)
A quiet-looking surface is not automatically ready for another session. Discuss weddings, professional photographs, enlistment requirements, and heavy sun exposure early. Visible fading, intact eyebrow hair, and deeper treatment readiness may occur on different schedules.
At EradiTatt Tattoo Removal, practitioners can assess eyebrow pigment, skin response, hair safety, and healing progress when planning removal or gradual fading. A clinic review can clarify the next safe step for your treatment plan.